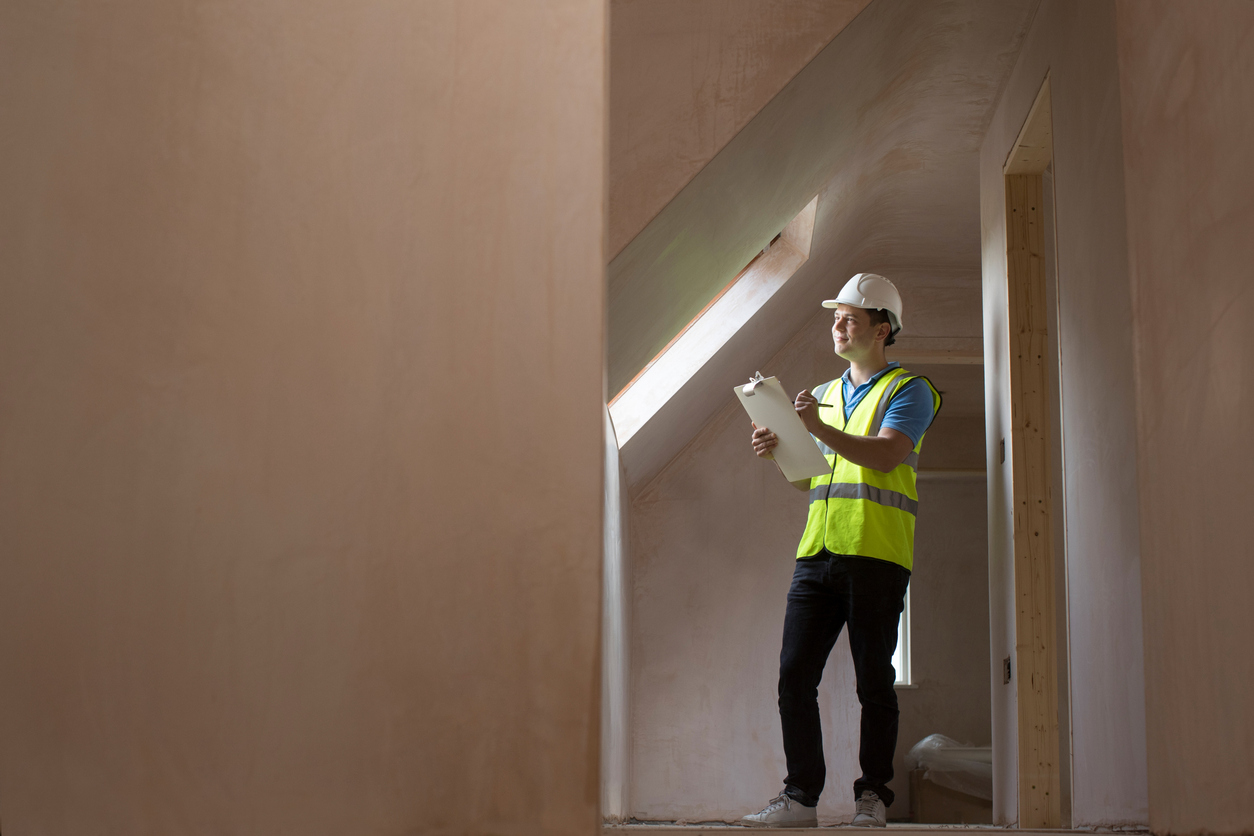
Anyone can paint walls or other surfaces. However, not everyone knows what to look for or potential problems that may arise. This is why you should have your finished paint job inspected to ensure it is done correctly.
Post-painting inspections are crucial for ensuring the quality of the work and client satisfaction for business in the Danville, Alamo, Blackhawk, Diablo, Livermore, Pleasanton, and San Ramon areas. A thorough inspection helps identify issues, such as uneven coverage, drips, or missed spots, ensuring the paint job is professional and long-lasting. It also reflects the contractor’s professionalism and attention to detail, reinforcing trust with the client and enhancing the business’s reputation.
Why the post-painting inspection is crucial
The post-painting inspection is a critical step in the painting process, ensuring the final result meets the client’s expectations and high-quality standards. Here’s why it is so essential:
- Ensuring quality: A thorough inspection helps confirm that the finished work meets the client’s expectations and upholds high-quality standards. This step ensures that colors, finishes, and application techniques align with the design intent.
- Identifying issues early: Inspecting the work allows for catching imperfections, such as missed spots, uneven coverage, or texture inconsistencies, before final approval. Addressing these early prevents costly touch-ups later. Be sure to check specialized painting tasks such as breakroom kitchen cabinet painting, wood rot repair and any light carpentry work bei
- Long-term durability: By conducting a detailed inspection, you can verify that the paint job has been applied correctly and will withstand wear and tear, environmental conditions, and other factors, ensuring the project’s longevity.
Initial walkthrough with the client
Walkthrough overview
The main goal of the walkthrough is to review the completed project with the client, ensuring all work meets their expectations. It allows both parties to evaluate the results in detail and gather valuable feedback. This step is crucial to confirm the quality of the work and identify any areas that may require touch-ups or corrections.
Client’s perspective
Listening to the client’s input is vital, as they may have specific areas they are most concerned with or particular preferences that need attention. By addressing these concerns, the painter ensures client satisfaction and demonstrates a commitment to quality, making the client feel involved in the final approval.
Checklist approach
Using a checklist during the walkthrough ensures no overlooked details. The checklist should cover crucial areas such as walls, ceilings, trim, and special surfaces like accent walls or textured finishes. This approach guarantees consistency and thoroughness, creating a professional impression while ensuring every aspect of the job is reviewed.
Inspecting for surface uniformity
Inspecting for surface uniformity during a post-paint inspection is crucial to achieving a professional, aesthetically pleasing finish. Here’s a breakdown of key aspects of this inspection:
- Checking for even coverage: Inspect all surfaces to ensure consistent paint application without streaks, brush marks, or roller lines, as uneven coverage can lead to a patchy appearance and compromise the finish’s quality.
- Assessing color consistency: Ensuring uniform color across all walls, especially where multiple coats or touch-ups were applied, prevents noticeable variations that can detract from the room’s aesthetics.
- Surface texture: Checking for a smooth, even texture without lumps, bubbles, or rough patches ensures the paint finish looks professional and maintains durability.
Checking for drips, runs, or streaks
- Identifying paint drips: When inspecting after painting, closely examine areas prone to drips and runs, such as corners, baseboards, or edges. Look for raised or uneven surfaces where excess paint may have accumulated. Use a bright light source and check from different angles to spot these imperfections, which often appear glossy or thick.
- Correcting imperfections: If you find drips, runs, or streaks, wait until the paint is completely dry before correcting. Lightly sand the affected area with fine-grit sandpaper to smooth out the surface. Once sanded, clean the area and apply a thin touch-up coat of paint, blending it with the surrounding surface for a seamless finish.
Inspecting edges and trim work
When conducting a post-paint inspection, focusing on the details of edges and trim work is essential for ensuring a professional and polished finish. Here are crucial aspects to inspect:
- Clean lines at edges: Inspect the edges along walls, ceilings, and trim to confirm they have sharp, clean lines without overlap or uneven borders. This step ensures a crisp transition between different surfaces or colors.
- Trim and molding: Review the trim, baseboards, and molding to check for even paint coverage with no smudges, splatters, or missed spots. Uneven application can make the paint job look unprofessional.
- Taping marks: Check for any residual tape marks or spots where the tape may have lifted the paint when removed. Repair any damage caused by tape removal to maintain a seamless appearance.
These inspections help ensure a high-quality, polished final result.
Ensuring adequate drying and curing time
During a post-paint inspection, ensure proper drying and curing:
- Dry to the touch vs. cured: Paint may feel dry to the touch within a few hours, but complete curing (hardening) can take days or weeks. Curing is crucial for durability, especially in high-traffic areas.
- Testing durability: Lightly press or scratch an inconspicuous area to check adhesion before moving furniture. If the paint comes off, it has not cured properly.
- Spotting early signs of issues: Look for peeling, bubbling, or cracking, which may indicate improper surface prep or environmental conditions. Address these issues immediately to prevent further damage.
Inspecting special areas (doors, windows, fixtures)
After completing a paint project, inspect special areas like doors, windows, fixtures, and hardware carefully:
- Door and window frames: Ensure that doors and windows open and close smoothly without sticking, which can occur if excess paint has built up on the frames or hinges. Sand down or clean off any excess paint to maintain functionality.
- Light fixtures and outlets: Check the areas around outlets, switches, and light fixtures for paint splatters or marks. These areas should be clean, with sharp lines around the edges. Use a damp cloth or a blade to remove any unwanted paint.
- Hardware and hinges: Inspect doorknobs, locks, and hinges to ensure they are free of paint splatter. Wipe down any affected areas or use a gentle solvent, if needed, to clean the hardware without damaging the finish.
Attention to these details ensures a professional and polished final result.
Reviewing for final touch-ups
During post-painting inspection, reviewing for final touch-ups involves:
- Touch-up necessities: Inspect the painted surfaces for missed spots, blemishes, or scratches. Address these minor imperfections with small touch-ups to create a flawless finish.
- Ensuring color match: Use the same paint, ensuring no visible differences in color or sheen. Stir the paint thoroughly and apply it evenly for a seamless blend.
- Final checks on high-visibility areas: Focus extra attention on high-traffic or high-visibility zones like entryways, lobbies, and hallways, ensuring they are smooth and blemish-free for a polished look.
Post-cleanup inspection
During a post-cleanup Inspection after painting, the focus is on ensuring the workspace is clean and restored. This process includes:
- Clean and tidy workspace: Remove all painting tools, debris, and protective coverings, leaving the space organized.
- Final surface cleaning: Lightly wipe surfaces to remove dust or paint particles, giving the area a polished finish.
- Disposal of hazardous materials: Safely dispose of leftover paints and solvents in an environmentally responsible manner.
This process ensures the space is ready for use, with no lingering hazards or mess.
Client approval and feedback
During a post-paint inspection, client approval and feedback involves:
- Final client walkthrough: During the final walkthrough, review the entire painting project with the client, ensuring that all areas meet their expectations. This step allows the client to express any last-minute concerns or adjustments, ensuring their satisfaction before project completion.
- Client sign-off: Obtaining written approval or sign-off from the client after the walkthrough is crucial. This step formalizes their satisfaction with the work and provides a clear record that the project has been completed to their standards, protecting both parties.
- Gathering feedback: Collecting feedback at the end of the project is valuable for improving future processes. Client insights can highlight areas for refinement, enhance service quality, and foster a positive working relationship that may lead to repeat business or referrals.
Warranty and follow-up
- Offering a warranty: During a post-paint inspection, offering a warranty reassures clients by guaranteeing the workmanship and materials used, giving them peace of mind in case of defects or issues.
- Follow-up services, such as inspections or touch-ups, ensure the paint job remains in top condition over time.
- Encouraging maintenance with cleaning tips, avoiding harsh chemicals, and checking for signs of wear help the client keep their painted surfaces looking fresh and lasting longer.
Conclusion
A thorough and detailed post-painting inspection guarantees a flawless finish and ensures client satisfaction. This final step allows painters to identify areas needing touch-ups or adjustments, ensuring the result meets the highest quality standards.
For professional painting services with a thorough inspection process, contact Custom Painting, Inc. today to ensure your project is completed to the highest standards. Call us at 925-866-9610 or message us on our contact page for a free quote.


