
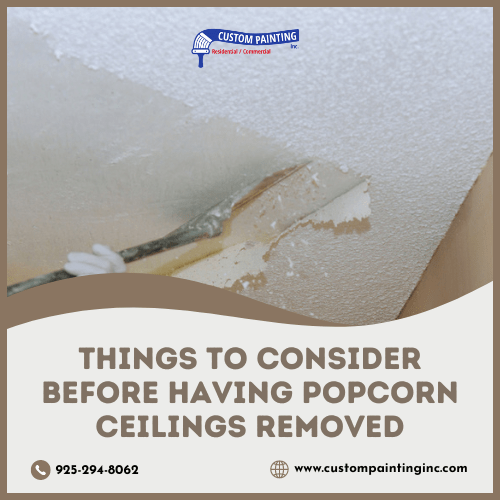
Before deciding to remove acoustic ceilings from your home, it’s important to understand the various factors involved. Popcorn ceilings, popular in mid-20th century San Ramon, CA area homes, can be an eyesore for some and a nostalgic element for others. However, their removal isn’t always straightforward. This article will guide you through the key considerations, from potential health risks to the costs and mess involved, helping you make an informed decision about whether to tackle this home improvement project.
Asbestos Testing
Before removing popcorn ceilings in older Danville, CA homes and businesses, it’s crucial to test for asbestos. Asbestos was commonly used in building materials before it was banned in the late 1970s due to health risks. Disturbing a popcorn ceiling that contains asbestos can release harmful fibers into the air, posing serious health risks to anyone exposed.
Importance of Testing for Asbestos in Older Homes
Testing for asbestos is essential because of the severe health risks associated with asbestos exposure. Inhaling asbestos fibers can lead to lung diseases, including asbestosis, lung cancer, and mesothelioma. Homes built before the 1980s are particularly at risk for containing asbestos in their popcorn ceilings. Testing ensures that you handle the situation safely and avoid these health dangers.
Steps to Take if Asbestos is Present
If asbestos is detected in your popcorn ceiling, it’s important to avoid any attempts to remove it yourself. Asbestos removal should only be done by licensed professionals who have the proper equipment and training to manage the process safely. Here’s what to do:
- Hire a professional: Contact a certified asbestos removal company to assess the situation and provide an estimate for safe removal.
- Ensure safety precautions: During removal, the area should be sealed off to prevent asbestos fibers from spreading to other parts of your home. Workers will use specialized equipment, such as HEPA-filtered vacuums, to capture airborne particles.
- Disposal: Asbestos-containing materials must be disposed of in accordance with local regulations to ensure environmental safety.
Legal and Health Considerations Regarding Asbestos
Asbestos is heavily regulated due to its known health risks. In many areas, it is illegal to remove asbestos-containing materials without proper certification. Failing to follow legal guidelines can result in hefty fines and potential legal action. Additionally, neglecting to address asbestos in your home can have long-term health consequences for you and your family.
Understanding the importance of asbestos testing and taking the necessary precautions can protect both your health and your legal standing when dealing with popcorn ceilings.
Cost of Removal
Removing popcorn ceilings can vary significantly in cost depending on several factors. Understanding what influences the price, the difference between DIY and professional removal, and how to budget for the project can help you plan more effectively.
Factors That Influence the Cost of Popcorn Ceiling Removal
The cost of removing a popcorn ceiling depends on several factors:
- Size of the area: Larger rooms or multiple rooms will naturally cost more to remove the popcorn texture.
- Asbestos presence: If asbestos is detected, the removal process becomes more complex and expensive due to the need for specialized professionals and equipment.
- Ceiling height: Higher ceilings may require additional equipment and labor, increasing the overall cost.
- Condition of the ceiling: If the ceiling is in poor condition or has been painted over, it may require more time and effort to remove, thus increasing costs.
- Location: Costs can vary based on geographic location, with prices typically higher in urban areas or regions with a higher cost of living.
Comparison of DIY Removal vs. Hiring Professionals
While some homeowners may consider DIY popcorn ceiling removal to save money, it’s important to weigh the pros and cons:
- DIY Removal:
- Pros: Lower upfront cost, sense of accomplishment.
- Cons: Time-consuming, messy, and potentially hazardous, especially if asbestos is present. DIY removal also risks damaging the ceiling, leading to additional repair costs.
- Hiring Professionals:
- Pros: Expertise and efficiency, proper equipment to handle removal safely, especially in cases of asbestos. Professionals also ensure a smoother finish, reducing the need for further touch-ups.
- Cons: Higher cost compared to DIY, but often worth the investment for safety and quality.
Budgeting Tips and Potential Hidden Costs
To avoid surprises, it’s essential to budget carefully and account for potential hidden costs:
- Get multiple quotes: Compare prices from several Diablo, CA area contractors to ensure you’re getting a fair deal.
- Check for additional repairs: After removing the popcorn ceiling, you may discover underlying issues, such as water damage or cracks that need fixing, adding to the overall cost.
- Consider disposal fees: Some contractors may include disposal fees in their quotes, while others might charge extra for the disposal of debris.
- Plan for painting or refinishing: Once the popcorn texture is removed, the ceiling will likely need to be repainted or refinished, which is an additional cost to consider.
By understanding these cost factors and planning accordingly, you can manage your budget effectively and avoid unexpected expenses during your popcorn ceiling removal project.
Preparation and Cleanup
Successfully removing a popcorn ceiling requires careful preparation and thorough cleanup. Taking the time to properly prepare the room and gather the right tools will make the process smoother and more manageable.
Preparing the Room and Protecting Furniture and Floors
Before starting the removal process, it’s essential to protect your belongings and the room itself:
- Clear the Room: Remove all furniture, electronics, and decorative items from the room to prevent damage and make your Livermore, CA workspace easier to navigate.
- Cover Flooring: Use heavy-duty plastic sheets or drop cloths to cover the entire floor. Secure the edges with painter’s tape to prevent dust and debris from getting underneath.
- Protect Walls and Fixtures: Cover walls, windows, and any remaining fixtures with plastic sheeting to protect them from dust, water, and any materials that might fall during the process. Use painter’s tape to secure the plastic in place.
- Seal Off the Area: If you’re working in one room of the house, seal the doorways and vents with plastic sheets to prevent dust from spreading to other parts of your home.
Necessary Tools and Materials for the Removal Process
Having the right tools and materials on hand will make the removal process more efficient:
- Spray bottle or garden sprayer: To dampen the popcorn texture, making it easier to scrape off.
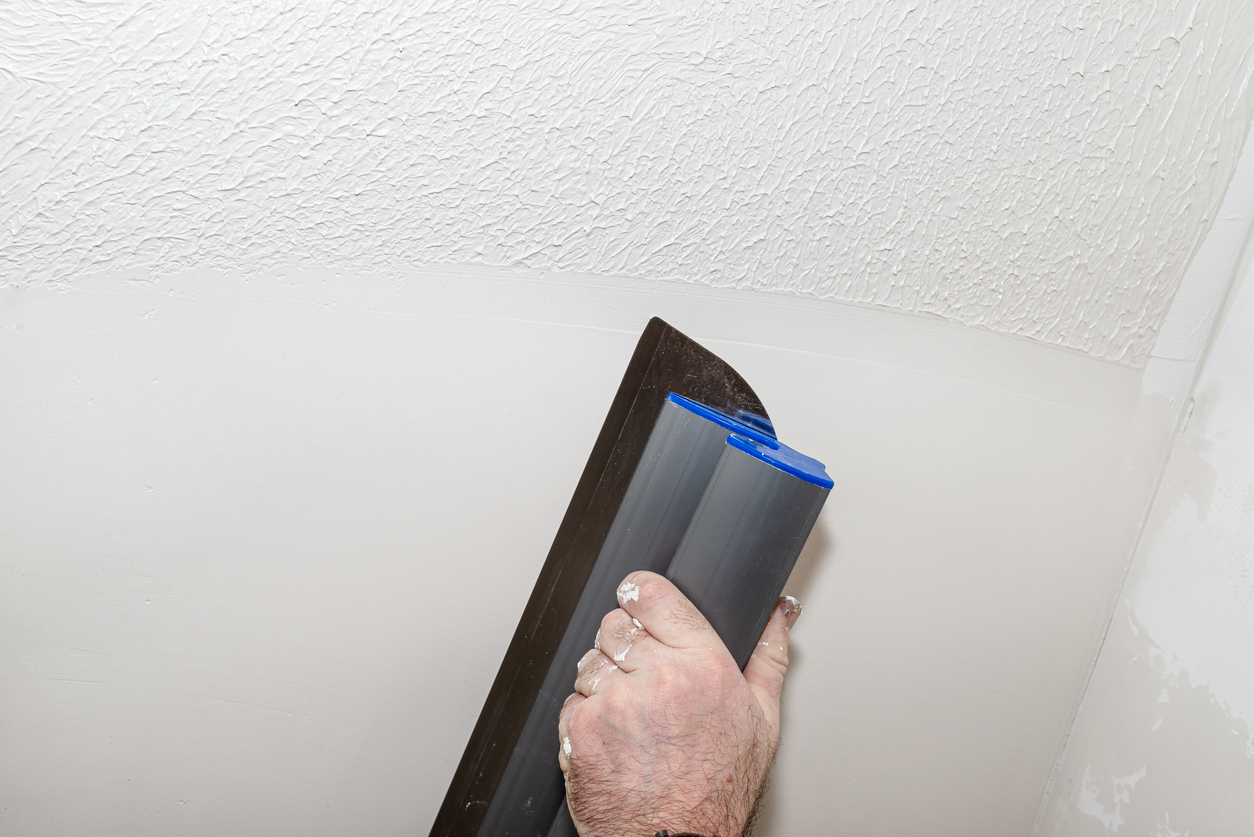
- Putty knives or drywall taping knives: For scraping the popcorn texture off the ceiling. A wider blade will cover more surface area, making the process faster.
- Ladder or scaffolding: To safely reach the ceiling, especially in rooms with higher ceilings.
- Protective gear: Wear safety glasses, a dust mask or respirator, and old clothing or a disposable coverall to protect yourself from dust and debris.
- Plastic sheeting and drop cloths: For covering and protecting the room as mentioned above.
- Buckets or bags: To collect debris as you remove the popcorn texture.
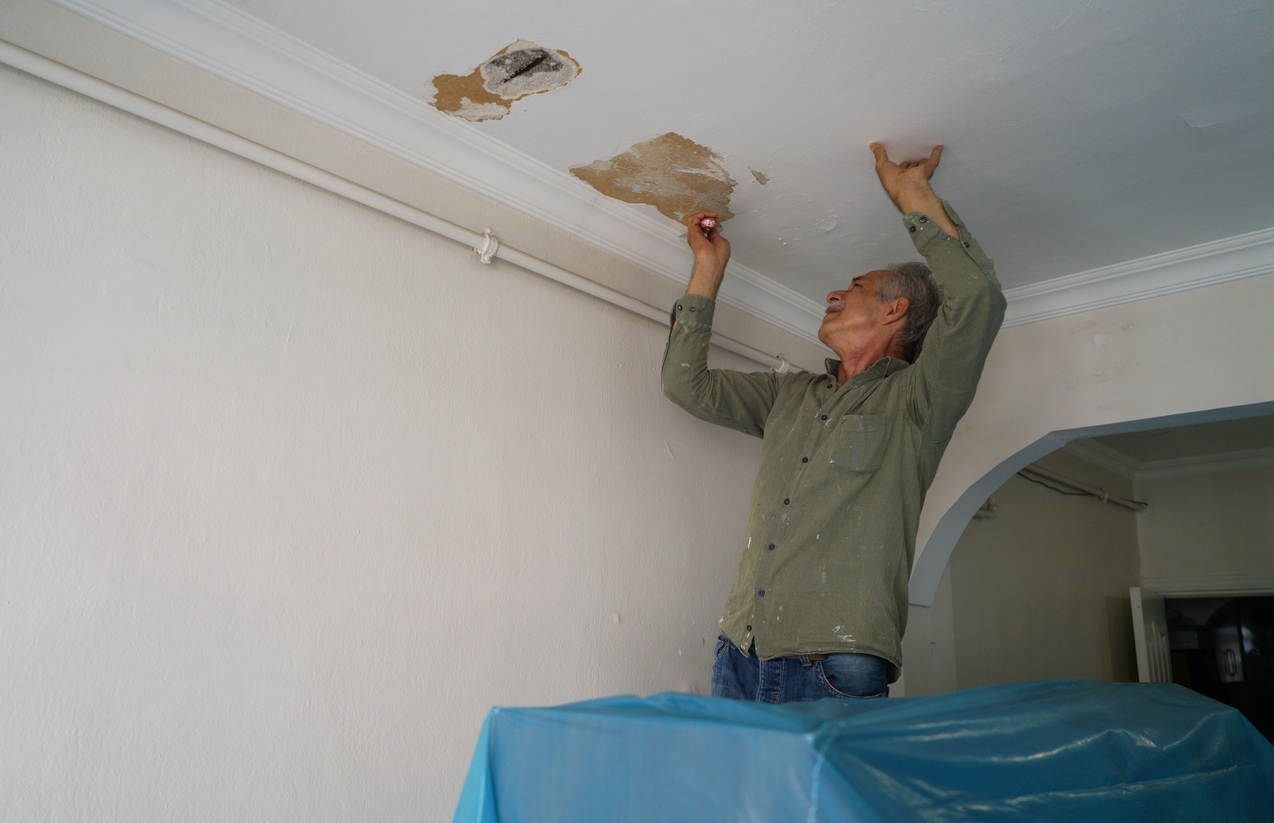
Cleanup Process and Managing Dust and Debris
After the popcorn ceiling has been removed, the cleanup process is crucial for restoring your space:
- Collect Debris: Start by carefully gathering all the larger pieces of debris using the drop cloths and plastic sheets. Fold up the sheets to contain the mess, and place the debris in heavy-duty garbage bags.
- Vacuum Thoroughly: Use a vacuum cleaner with a HEPA filter to clean up any remaining dust and smaller particles. Pay special attention to corners, baseboards, and any other areas where dust may have settled.
- Wipe Down Surfaces: After vacuuming, wipe down all surfaces, including walls, windows, and fixtures, with a damp cloth to remove any lingering dust.
- Dispose of Materials Properly: Ensure that all materials, especially if asbestos is involved, are disposed of according to local regulations to avoid any legal issues.
- Air Out the Room: Once cleanup is complete, ventilate the room by opening windows and using fans to help clear out any remaining dust or fumes.
By following these steps for preparation and cleanup, you can ensure that your popcorn ceiling removal project is as smooth and hassle-free as possible. Proper planning and attention to detail will not only protect your home but also make the entire process more efficient and safer.
Time and Effort
Removing a popcorn ceiling is a task that requires significant time and physical effort, depending on the size of the project and the specific challenges you may encounter. Understanding the time commitment and potential difficulties can help you plan and manage the project more effectively.
Estimated Time Required for Popcorn Ceiling Removal
The time it takes to remove a popcorn ceiling can vary widely based on several factors:
- Room Size: A small bedroom might take 6-8 hours to complete, while larger spaces like a living room could take a full day or more.
- Ceiling Condition: If the popcorn ceiling has been painted over, the removal process will take longer because the texture is more difficult to scrape off.
- Preparation and Cleanup: Setting up the room and cleaning up afterward can add several hours to the total time needed for the project.
In general, expect a typical room to take a day or two from start to finish, depending on your pace and experience level.
Physical Effort and Potential Challenges During the Process
Removing a popcorn ceiling is a physically demanding task that involves working overhead for extended periods, which can be tiring and hard on your arms, neck, and back. Some of the potential challenges include:
- Scraping: Removing the texture requires consistent pressure and may involve stubborn areas that don’t come off easily, particularly if the ceiling has been painted.
- Reaching High Ceilings: If your home has high or vaulted ceilings, the work becomes more challenging and may require scaffolding, which adds complexity to the task.
- Mess and Dust: The process generates a significant amount of dust and debris, which can be difficult to manage, particularly if the room isn’t properly sealed off.
- Asbestos Concerns: If asbestos is present, the removal becomes much more hazardous and requires professional handling, which adds to the difficulty.
Considering the Scope of the Project, Room Size, and Ceiling Height
The scope of the project is a critical factor in determining whether to take on the task yourself or hire professionals:
- Room Size: Larger rooms require more time and effort, so it’s essential to realistically assess whether you can complete the project within a reasonable timeframe.
- Ceiling Height: High ceilings not only increase the physical strain but also require additional equipment like ladders or scaffolding, which can be cumbersome and increase the risk of accidents.
- Project Complexity: If you’re dealing with multiple rooms or especially difficult ceilings, it may be more efficient to break the project into smaller phases or consider professional assistance to ensure the job is done safely and effectively.
Considering these factors will help you understand the time and physical effort required to remove a popcorn ceiling. Whether you decide to tackle it yourself or hire professionals, being well-prepared will lead to better results and a smoother overall process.
Alternative Solutions
If removing a popcorn ceiling seems too daunting, there are alternative solutions that can achieve a modern look without the mess and hassle of complete removal. These options include covering the ceiling with a new layer of drywall or applying a different texture over the existing popcorn finish.
Options Other Than Removal
Instead of removing the popcorn texture, consider the following alternatives:
- Covering with Drywall: This method involves installing a new layer of drywall directly over the existing popcorn ceiling. It effectively hides the popcorn texture and creates a smooth, fresh surface ready for painting or other finishes.
- Applying a New Texture: Another option is to apply a new texture over the popcorn ceiling, such as a knockdown, skim coat, or beadboard panels. This can give the ceiling a refreshed look without the need for complete removal.
Pros and Cons of Alternative Solutions Compared to Removal
Each alternative solution has its advantages and disadvantages compared to traditional removal:
Covering with Drywall:
Pros:
- No need to deal with messy scraping or potential asbestos exposure.
- Provides a smooth, modern finish.
- It can improve insulation and soundproofing.
Cons:
- Requires more materials and labor, potentially increasing costs.
- Slightly lowers the ceiling height, which may be a concern in rooms with already low ceilings.
- May require adjustments to existing light fixtures, vents, and other ceiling-mounted elements.
Applying a New Texture:
Pros:
- Quicker and less messy than removal.
- No need to worry about asbestos if it remains undisturbed.
- Offers various design options to update the look of the ceiling.
Cons:
- Doesn’t provide a completely smooth finish; the original popcorn texture may still be visible underneath some lighter textures.
- May require a skilled hand to apply evenly, which could lead to added costs if hiring a professional.
- Over time, the new texture may require maintenance or reapplication.
Cost and Time Implications of Alternatives
When considering the cost and time implications of these alternatives, it’s important to compare them to the traditional removal process:
Cost:
- Covering with drywall generally costs more than scraping due to the need for additional materials (drywall, joint compound, tape) and labor. However, it may be cost-effective if you need to avoid dealing with asbestos or prefer a flawless finish.
- Applying a new texture is usually less expensive than covering with drywall but may still cost more than a basic scraping job, depending on the texture chosen and whether you hire a professional.
Time:
- Installing drywall takes time due to the need for cutting, fitting, taping, and finishing the joints, which may extend the project timeline. However, it eliminates the time-consuming cleanup associated with scraping.
- Applying a new texture can be faster than drywall installation, especially if you choose a simple texture. However, achieving a consistent look may require multiple coats or passes, adding time to the project.
Alternative solutions to popcorn ceiling removal offer viable options that can save you from the mess and risks associated with traditional scraping. Each option has its own set of advantages and disadvantages, so carefully consider your budget, time constraints, and desired outcome before deciding on the best approach for your home.
Final Thoughts
Removing or updating popcorn ceilings can be a significant project, but with the right approach, you can achieve the look you want for your home. Whether you decide to remove the texture, cover it with drywall, or apply a new finish, it’s important to consider the costs, time, and effort involved.
If you’re ready to get started or need professional help, contact Custom Painting, Inc. at 925-866-9610 or through our contact form to schedule a consultation. We’re here to help you transform your ceilings with expert guidance and quality service.
