
 Graffiti is a frustrating challenge for property owners, particularly if it affects the appearance of fences. If you are dealing with a single tag or a series of colorful designs, covering them needs the right approach and materials. In this article, we’ll discuss the best methods for painting over graffiti on fences and ensuring a clean and lasting finish.
From preparation and primer selection to choosing the right paint and tools, we’ll guide you through the steps to restore your fence to its pristine condition. Say goodbye to unwanted graffiti and hello to a beautifully painted fence with our expert tips.
Understanding Graffiti and Paint Types
1. Types of Graffiti Commonly Found on Fences
Graffiti can take various forms, each requiring a different approach for effective coverage. The most common types of graffiti found on fences include:
- Spray Paint: The most prevalent type of graffiti, spray paint, is popular due to its ease of use and vibrant colors. It adheres well to most surfaces, making it challenging to cover without proper preparation.
- Markers: Permanent markers are often used for tagging. They can penetrate porous surfaces, making them difficult to remove or cover.
- Stickers and Wheatpaste Posters: Although less common, some graffiti artists use stickers or posters. When removed, these can leave behind residue or damage the underlying surface.
Understanding the type of graffiti on your fence helps determine the best approach for coverage and the materials you’ll need.
2. Overview of Different Fence Materials
The material of your fence significantly affects how graffiti adheres to it and how it can be covered. Here are the most common fence materials and their characteristics:
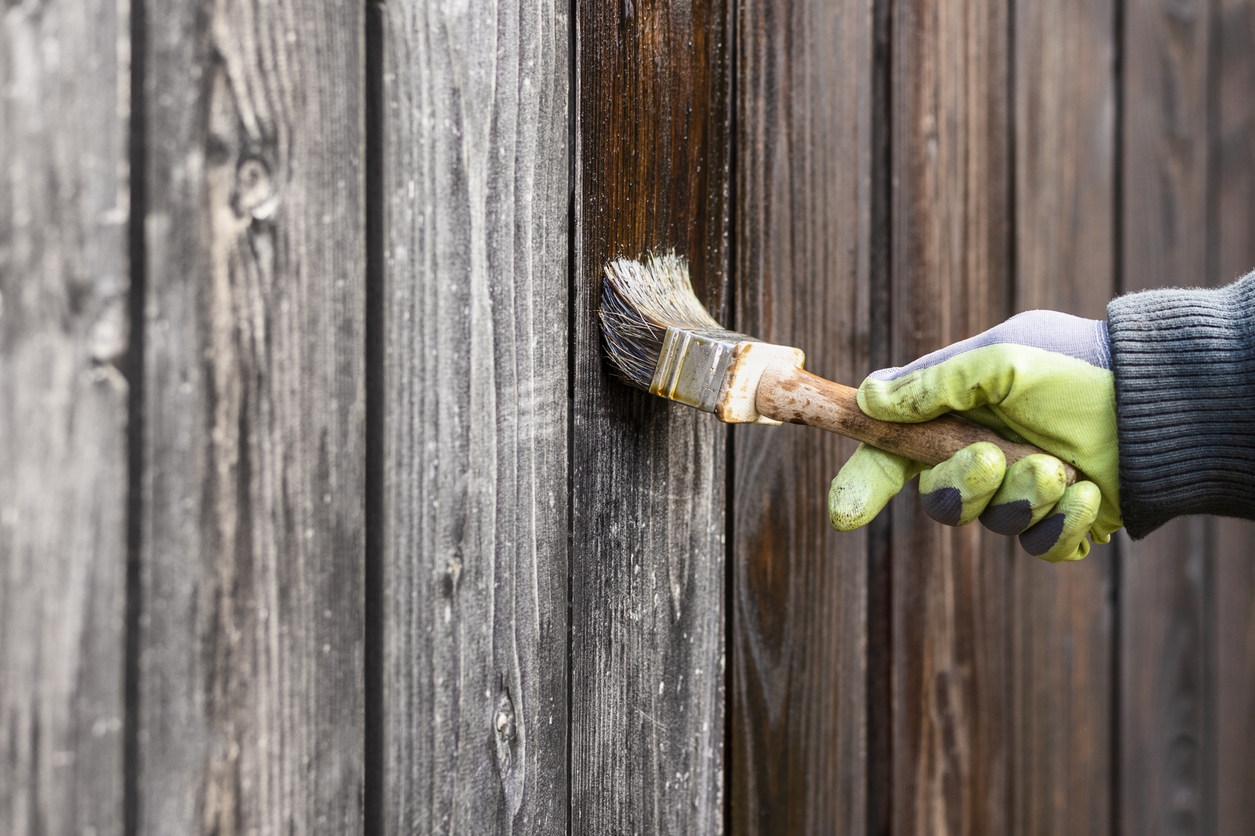
- Wood: Wooden fences are porous, making them susceptible to deep graffiti penetration, especially with markers. They may require sanding or special primers to cover graffiti effectively.
- Metal: Metal fences, such as chain-link or wrought iron, have a smoother surface. While this makes graffiti easier to remove, it also means paint needs to be specially formulated to adhere well.
- Vinyl: Vinyl fences are non-porous and often easier to clean. However, their smooth surface can make it tricky for new paint to adhere properly without a good primer.
Knowing your fence material is crucial for choosing the right products and techniques for graffiti coverage.
3. Types of Paints Suitable for Fence Painting and Graffiti Coverage
When it comes to covering graffiti on fences, selecting the right type of paint is essential. Here are the most suitable options:
- Primer: Always start with a good primer, especially if the graffiti is bold or the fence material is porous. Primers help create a smooth, uniform surface for the topcoat.
- Acrylic Paint: Acrylic paint is versatile and durable, making it a good choice for most fence materials. It’s available in a wide range of colors and finishes, and it dries relatively quickly.
- Oil-Based Paint: Known for its durability and strong adhesion, oil-based paint is excellent for metal and wooden fences. It can cover graffiti effectively but requires longer drying times and careful cleanup.
- Epoxy Paint: Epoxy paint offers excellent adhesion and durability for metal fences. It’s resistant to weathering and can cover graffiti well, but it may be more expensive and harder to apply.
- Graffiti-Resistant Coatings: These specialized coatings can be applied over your final paint layer. They make future graffiti removal easier, as they prevent paint and markers from adhering strongly to the surface.
Preparing the Fence for Painting
Proper preparation is crucial for achieving a professional finish when painting over graffiti on fences. This involves thorough cleaning, priming the surface, and selecting the right primer for the job.
1. Cleaning the Fence
Before you can paint over graffiti, it’s essential to clean the fence thoroughly. Removing dirt, debris, and any loose paint ensures that the new paint adheres properly and provides a smooth, even finish. Here’s why this step is so important:
- Improved Adhesion: Paint adheres better to a clean surface, reducing the risk of peeling or flaking over time.
- Smooth Finish: Cleaning removes imperfections, resulting in a smoother and more professional-looking paint job.
- Longevity: A clean surface helps the paint last longer, protecting the fence from weathering and further graffiti.
To clean your fence, use a pressure washer or a hose with a high-pressure nozzle to remove dirt and debris. For stubborn grime, a scrub brush and mild detergent can be effective. Ensure the fence is completely dry before moving on to the next step.
2. Priming the Surface
Priming the surface is a critical step in preparing the fence for painting. Primer serves several important functions:
- Seals the Surface: Primer helps seal the porous surfaces of wood or other materials, preventing the graffiti from bleeding through the new paint.
- Enhances Adhesion: It creates a uniform surface for the paint to adhere to, improving the durability and longevity of the paint job.
- Hides Stains and Colors: A good primer can effectively cover bold graffiti, providing a neutral base for your final paint color.
When applying primer, ensure even coverage over the entire graffiti area and the surrounding surface. Allow the primer to dry completely according to the manufacturer’s instructions before applying the topcoat.
Techniques for Covering Graffiti
Effectively covering graffiti requires specific techniques and the right materials. Here are some key methods and tips to ensure a smooth, clean finish on your fence.
1. Paint Over – Using High-Opacity Paints
One of the most straightforward methods to cover graffiti is painting over it with high-opacity paints. These paints provide excellent coverage, concealing even the boldest tags with minimal coats. Here’s how to do it effectively:
- Choose High-Quality, High-Opacity Paints: Choose paints specifically designed for high coverage. These paints have more pigments and can cover graffiti in fewer coats.
- Prepare the Surface: Ensure the surface is clean and primed. This enhances the paint’s adhesion and coverage.
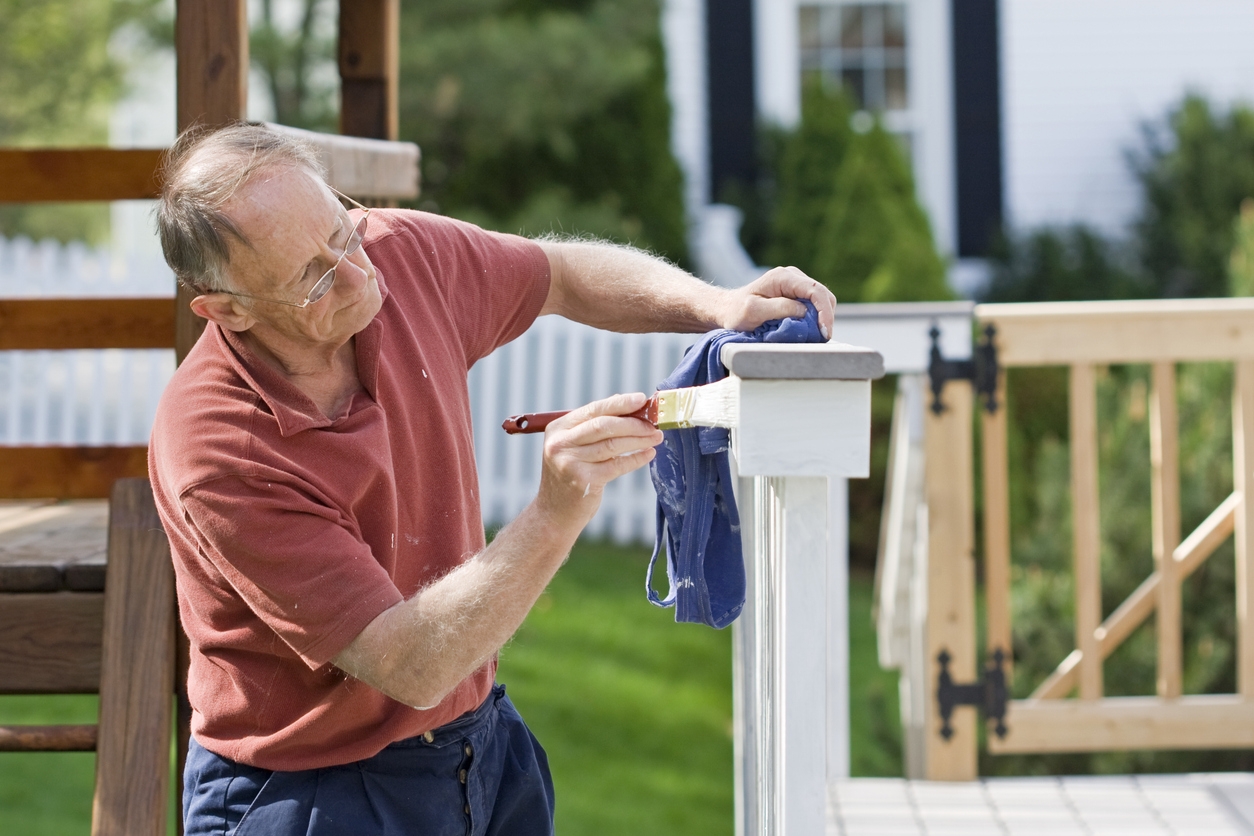
- Apply the Paint Evenly: Use a roller or brush to apply the paint evenly over the graffiti. Start with a thin layer and allow it to dry completely before applying additional coats.
2. Best Practices for Applying Multiple Coats
Applying multiple coats of paint is often necessary to completely cover graffiti, especially if the graffiti is dark or brightly colored. Here are some best practices:
- Thin, Even Coats: Apply thin, even coats to avoid drips and ensure a smooth finish. Thick coats may take longer to dry and can result in an uneven surface.
- Allow Proper Drying Time: Follow the manufacturer’s instructions for drying times between coats. This prevents the paint from peeling or cracking.
- Sand Between Coats: For a professional finish, lightly sand the surface between coats with fine-grit sandpaper. This helps the next layer adhere better and creates a smoother finish.
- Check Coverage: After each coat dries, check for any areas where the graffiti is still visible. Continue applying coats until the graffiti is completely covered.
3. Color Matching – Tips on Choosing Paint Colors
Choosing the right paint color is crucial for effectively covering graffiti. Here are some tips for color matching:
- Match the Existing Fence Color: If you’re covering a small graffiti area, try to match the existing fence color as closely as possible. Take a sample or a photo to a paint store for a color match.
- Use Neutral Colors: Neutral colors like white, gray, or beige are generally easier to match and cover graffiti effectively.
- Consider Darker Shades: Darker colors can be more effective at hiding graffiti, especially if the graffiti is in dark or bright colors.
- Test a Small Area: Before painting the entire fence, test the color on a small, inconspicuous area to ensure it matches well and provides good coverage.
4. Use of Stain Blockers
Stain-blocking primers and paints are essential tools for preventing graffiti from bleeding through the new paint layer. Here’s how to use them effectively:
- Choose a Quality Stain Blocker: Select a primer or paint with stain-blocking properties. These products are designed to seal in stains and prevent them from resurfacing.
- Apply a Generous Coat: Apply the stain blocker generously over the graffiti area. Make sure to cover slightly beyond the graffiti to ensure complete coverage.
- Allow Adequate Drying Time: Let the stain blocker dry completely before applying the topcoat. This ensures it fully seals the graffiti.
- Topcoat Application: Once the stain blocker is dry, apply your chosen paint color over it. The stain blocker will prevent the graffiti from bleeding through, ensuring a clean finish.
By using these techniques and materials, you can effectively cover graffiti on your fence, restoring its appearance and protecting it from future vandalism. Proper preparation, the right choice of paints and primers, and careful application will result in a professional, long-lasting finish.
Additional Tips and Considerations
1. When to Hire a Professional
In some scenarios, hiring a professional might be the best option:
- Extensive Graffiti: Large or heavily vandalized areas may require professional equipment and expertise.
- Specialized Surfaces: Unique or delicate fence materials, such as historic wood or ornamental metal, might need professional care.
- Time Constraints: If you lack the time or tools, professionals can ensure a quick and high-quality job.
2. Long-Term Prevention
To discourage future graffiti, consider these strategies:
- Anti-Graffiti Coatings: Apply clear, protective coatings that make it easier to remove graffiti without damaging the underlying paint.
- Improved Lighting: Install bright lights around your fence to deter vandals.
- Landscaping Barriers: Plant thorny bushes or climbing plants near the fence to make it less accessible for graffiti artists.
3. Maintenance
Regular maintenance helps keep your fence looking good and minimizes future graffiti issues:
- Routine Cleaning: Periodically wash the fence to remove dirt and grime, keeping the surface clean and less attractive to graffiti artists.
- Quick Removal: Address new graffiti promptly to discourage repeat offenders and prevent it from becoming a bigger issue.
- Touch-Ups: Keep some of your original paint for quick touch-ups if small areas of graffiti appear.
By following these tips and considering professional help, you can maintain a clean, graffiti-free fence for the long term.
Conclusion
Covering graffiti on fences requires the right preparation, techniques, and materials. By following the tips and steps in this article, you can restore your fence to its original beauty and protect it from future vandalism. If you need professional assistance, contact Custom Painting, Inc. at 925-866-9610 or through our contact form. We’re here to help you achieve a clean, graffiti-free fence.
